Getting started
Step 1: Define your product plans, levers, and entitlements
To get started, sign into the Planship Console. If you don't have a Planship account yet, sign up now.
Using Stripe?
If you use Stripe, you can manage your Planship integration directly from the Stripe dashboard by using the Planship app for Stripe. Follow our Stripe integration HOW-TO guide to get started.
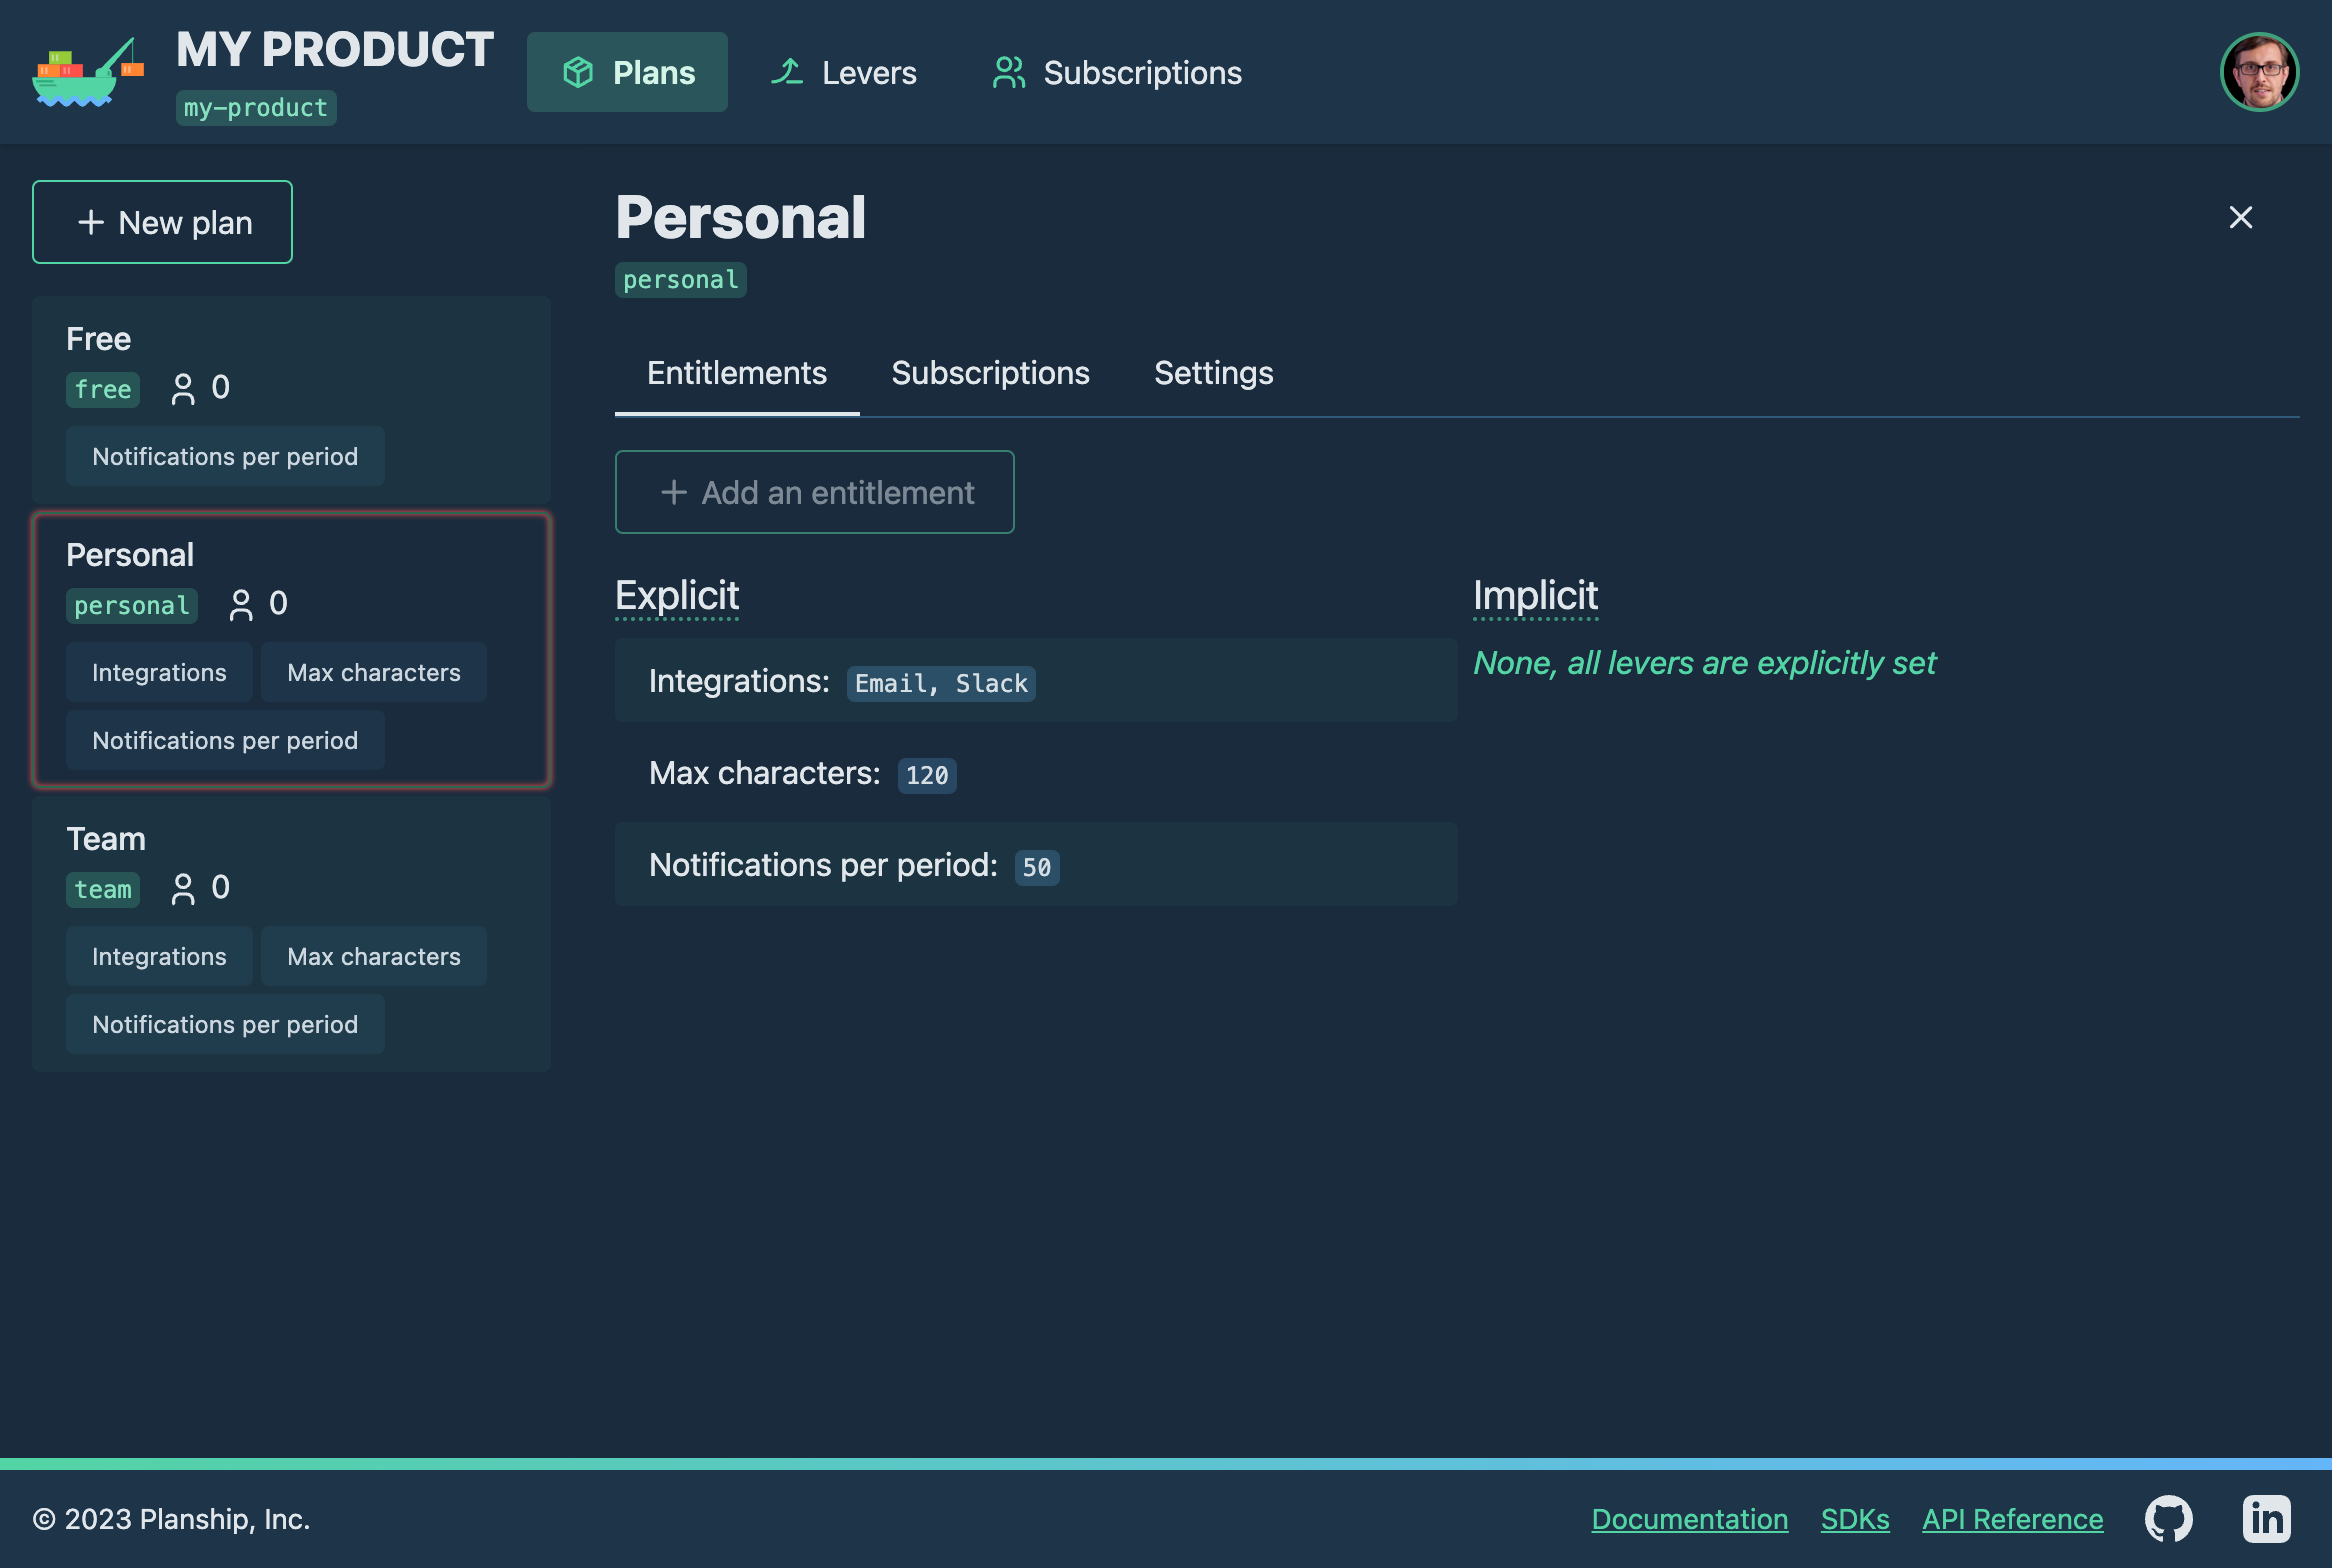
In the console, you'll do the following:
- Create a product that corresponds to your software product
- Create feature and/or metered levers that map to the pricing dimensions of your product.
- Create plans that map to your recurring subscription plans, one-off packages, add-ons, etc.
- Apply pricing levers to individual plans by defining entitlements.
Looking for guidance?
If you're new to Planship, you can follow our Planship Console step-by-step HOW-TO guide for a step-by-step guide on creating products, plans, levers, and entitlements.
Step 2: Integrate Planship into your product code
With your levers, plans, and entitlements defined in Planship, it's time to integrate your product with the Planship API to do the following:
Languages and frameworks
Planship offers API client libraries for a number of languages including JavaScript/TypeScript, Python, and Java. In addition to langauage-specific libraries, Planship offers SDKs that streamline integration with popular application-developement libraries and frameworks, including React (and Next.js) as well as Vue.js (and Nuxt).
Let us know if there's a language or framework you'd like for us to officially support.
Tip
If the language or framework you use isn't currently supported by one of our SDKs, or you would rather build your own library, you can generate a Planship API client from our OpenAPI spec using a generator like openapi-generator.
Choosing the right SDK for your project
The Planship SDKs you use depend on the languages and frameworks in your application's tech stack. Regardless of whether you are fetching and enforcing entitlements or managing customers and their subscriptions, you will likely need to call the Planship API from both the backend and frontend of your application.
Backend integration
For backend integration, use one of the Planship language libraries:
- Node.js: Use @planship/fetch or @planship/axios for backends built with frameworks like Express.js and NestJS.
- Python: Use planship-python for backends built with frameworks like Flask, Django, and FastAPI.
- Java: Use planship-java for backends built with frameworks like Spring.
Frontend integration
Planship offers SDKs designed specifically for some of the most populars web frameworks:
- React SPA apps: Use @planship/react, which uses the React Context API to expose Planship API clients and entitlements via React hooks.
- Next.js apps including SSR apps: Use @planship/react for frontend operations and @planship/fetch for server-side operations.
- Vue.js SPA apps: Use @planship/vue.
- Nuxt apps including universal (server-side + client-side) apps: Use @planship/nuxt, which includes @planship/vue and its composables along with server-side services for calling the Planship API from Nuxt server routes, server middleware, and more.
If the frontend framework that you use doesn't have a dedicated Planship SDK yet, you can grab @planship/fetch or @planship/axios and use them from your client-side and server-side code.
Authentication and security
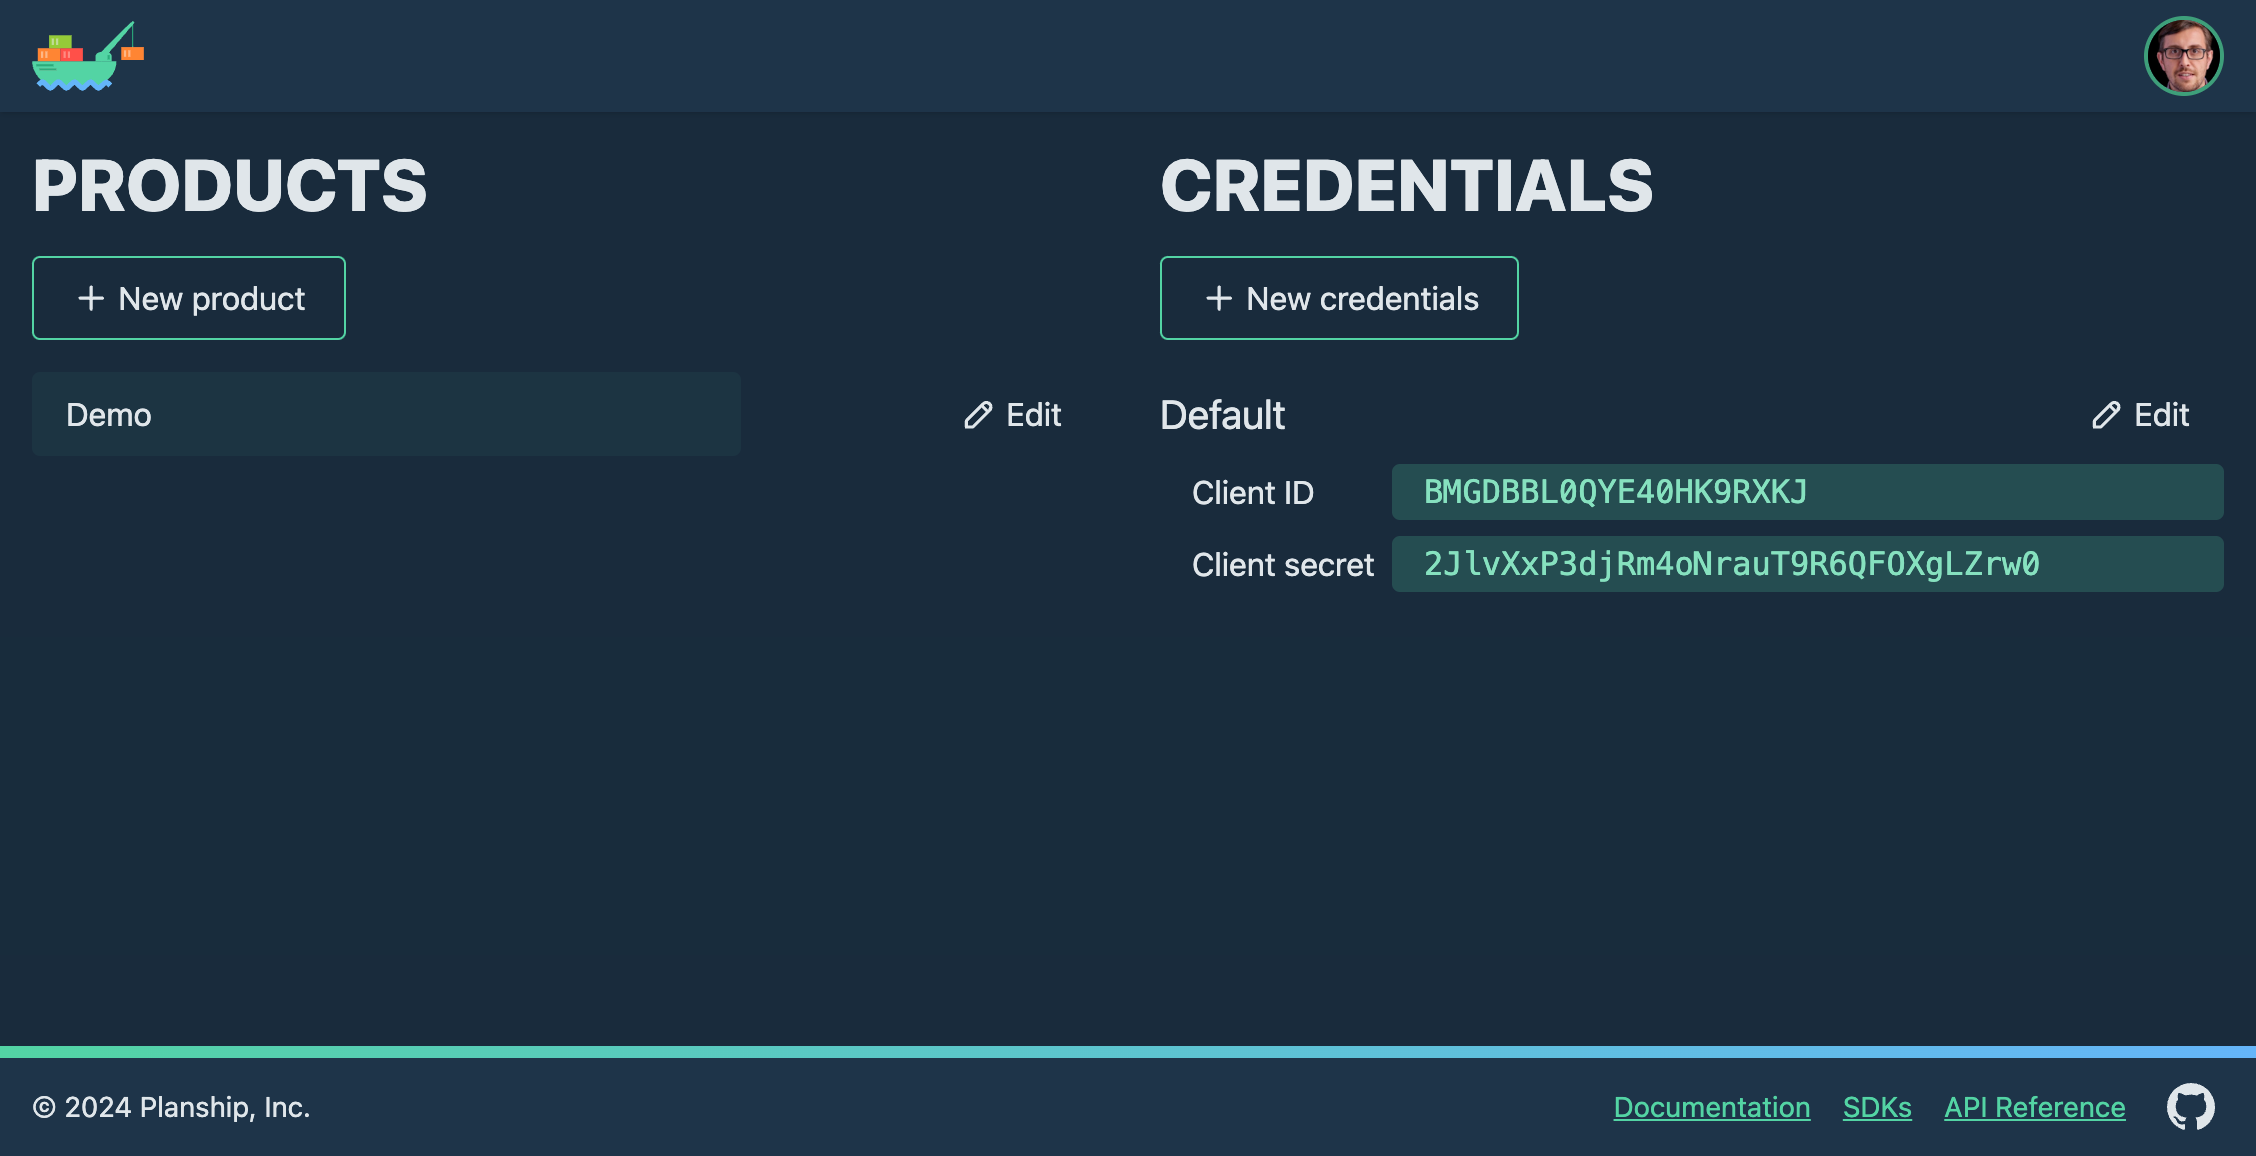
The Planship API uses token-based authentication where access tokens are obtained via an OAuth2 Client Credentials flow. The credentials consist of a client ID and secret pair that is exchanged for a token that grants access to the resources within an organization. Client ID and secret pairs are managed on the organization level by organization admins and collaborators. You can find them in the Planship console under your organization.
Info
Since Planship API calls are authenticated by tokens rather than API keys, Planship can be securly integrated into your client-side code (E.g. browser) without compromising application secrets.
Getting started with Planship SDKs
To get started, add the desired Planship library or SDK to your project.
The Planship fetch client is part of the planship-js SDK codebase hosted at https://github.com/planship/planship-js and published to NPM as @planship/fetch.
Using pnpm:
Using yarn:
The Planship Axios client is part of the planship-js SDK codebase hosted at https://github.com/planship/planship-js and published to NPM as @planship/fetch.
Using pnpm:
Using yarn:
The Planship Python SDK code is hosted at https://github.com/planship/planship-python and published to PyPi at https://pypi.org/project/planship/.
The Planship Java SDK code is hosted at https://github.com/planship/planship-java and available from Maven Central at https://pypi.org/project/planship/.
Maven users
Add this dependency to your project's POM:
<dependency>
  <groupId>io.planship</groupId>
  <artifactId>planship-java</artifactId>
  <version>0.2.0</version>
  <scope>compile</scope>
</dependency>
Gradle users
Add this dependency to your project's build file:
The Planship client-side SDK for React uses the React Context API to make consuming Planship data and functionality in React and Next.js apps easier. The React SDK code is hosted at https://github.com/planship/planship-react and published to NPM as @planship/react.
Using pnpm:
Using yarn:
Then, import and initialize it:
import { Planship } from '@planship/fetch'

const planship = new Planship(
  'clicker-demo', // your Planship product slug
  {
    clientId: '273N1SQ3GQFZ8JSFKIOK', // Planship API client ID
    clientSecret: 'GDSfzPD2NEM5PEzIl1JoXFRJNZm3uAhX' // Planship API client secret
  }
)
Client-side (browser) code
In client code, the use of application secrets like your Planship API client secret should be avoided at all times. Instead, you should retrieve a Planship access token from the server using your existing application API, and pass the token to the Planship client class constructor via an asynchronous getter function.
const planship = new Planship(
  'clicker-demo', // your Planship product slug
  getAccessToken // function that returns a Promise that resolves with a valid Planship access token
)
To obtain the token on the server side, call the getAccessToken method on the server-side Planship client instance:
import { Planship } from '@planship/axios'

const planship = new Planship(
  'clicker-demo',   // your Planship product slug
  {
    clientId: '273N1SQ3GQFZ8JSFKIOK', // Planship API client ID
    clientSecret: 'GDSfzPD2NEM5PEzIl1JoXFRJNZm3uAhX' // Planship API client secret
  }
)
Client-side (browser) code
In client code, the use of application secrets like your Planship API client secret should be avoided at all times. Instead, you should retrieve a Planship access token from the server using your existing application API, and pass the token to the Planship client class constructor via an asynchronous getter function.
const planship = new Planship(
  'clicker-demo', // your Planship product slug
  getAccessToken // function that returns a Promise that resolves with a valid Planship access token
)
To obtain the token on the server side, call the getAccessToken method on the server-side Planship client instance:
Import and call withPlanshipProvider to create a Planship context provider and wrap your components with it.
import { withPlanshipProvider } from '@planship/react'

function App() {
  const PlanshipProvider = withPlanshipProvider(
    {
      slug: 'clicker-demo', // your Planship product slug
      getAccessToken: getAccessToken, // function that returns a valid Planship token
    }
  )

  return (
    <PlanshipProvider>
      <Page />
    </PlanshipProvider>
  )
}
Then, import and call usePlanship inside your components to access the Planship API client.