Using Planship with Stripe
In this guide, we'll walk through how to use Planship with Stripe using the Planship app for Stripe. Let's get started.
Why should I use Planship with Stripe?
Stripe is the most popular billing solution for SaaS companies today. If you're building a SaaS product you likely accept payments with Stripe or use a pricing solution that relies on Stripe under the hood.
While Stripe makes it easy to add subscription and usage-based billing schemes to SaaS products, developers still have to build lots of additional logic to handle related functionality that falls outside of Stripe's offering - things like plan-defined feature entitlements and usage-based limits, team subscriptions, usage aggregation, customer provisioning, subscription data models, upsell logic, etc.
Planship delivers this additional functionality while seemlessly integrating with Stripe - no changes to your existing Stripe configuration or integration code required.
How does it work?
Once your Planship and Stripe accounts are connected, Planship will automatically mirror all of your Stripe products, customers, and subscriptions.
You can then define feature and metered levers and configure entitlements for your Stripe products, all directly from the Stripe UI.
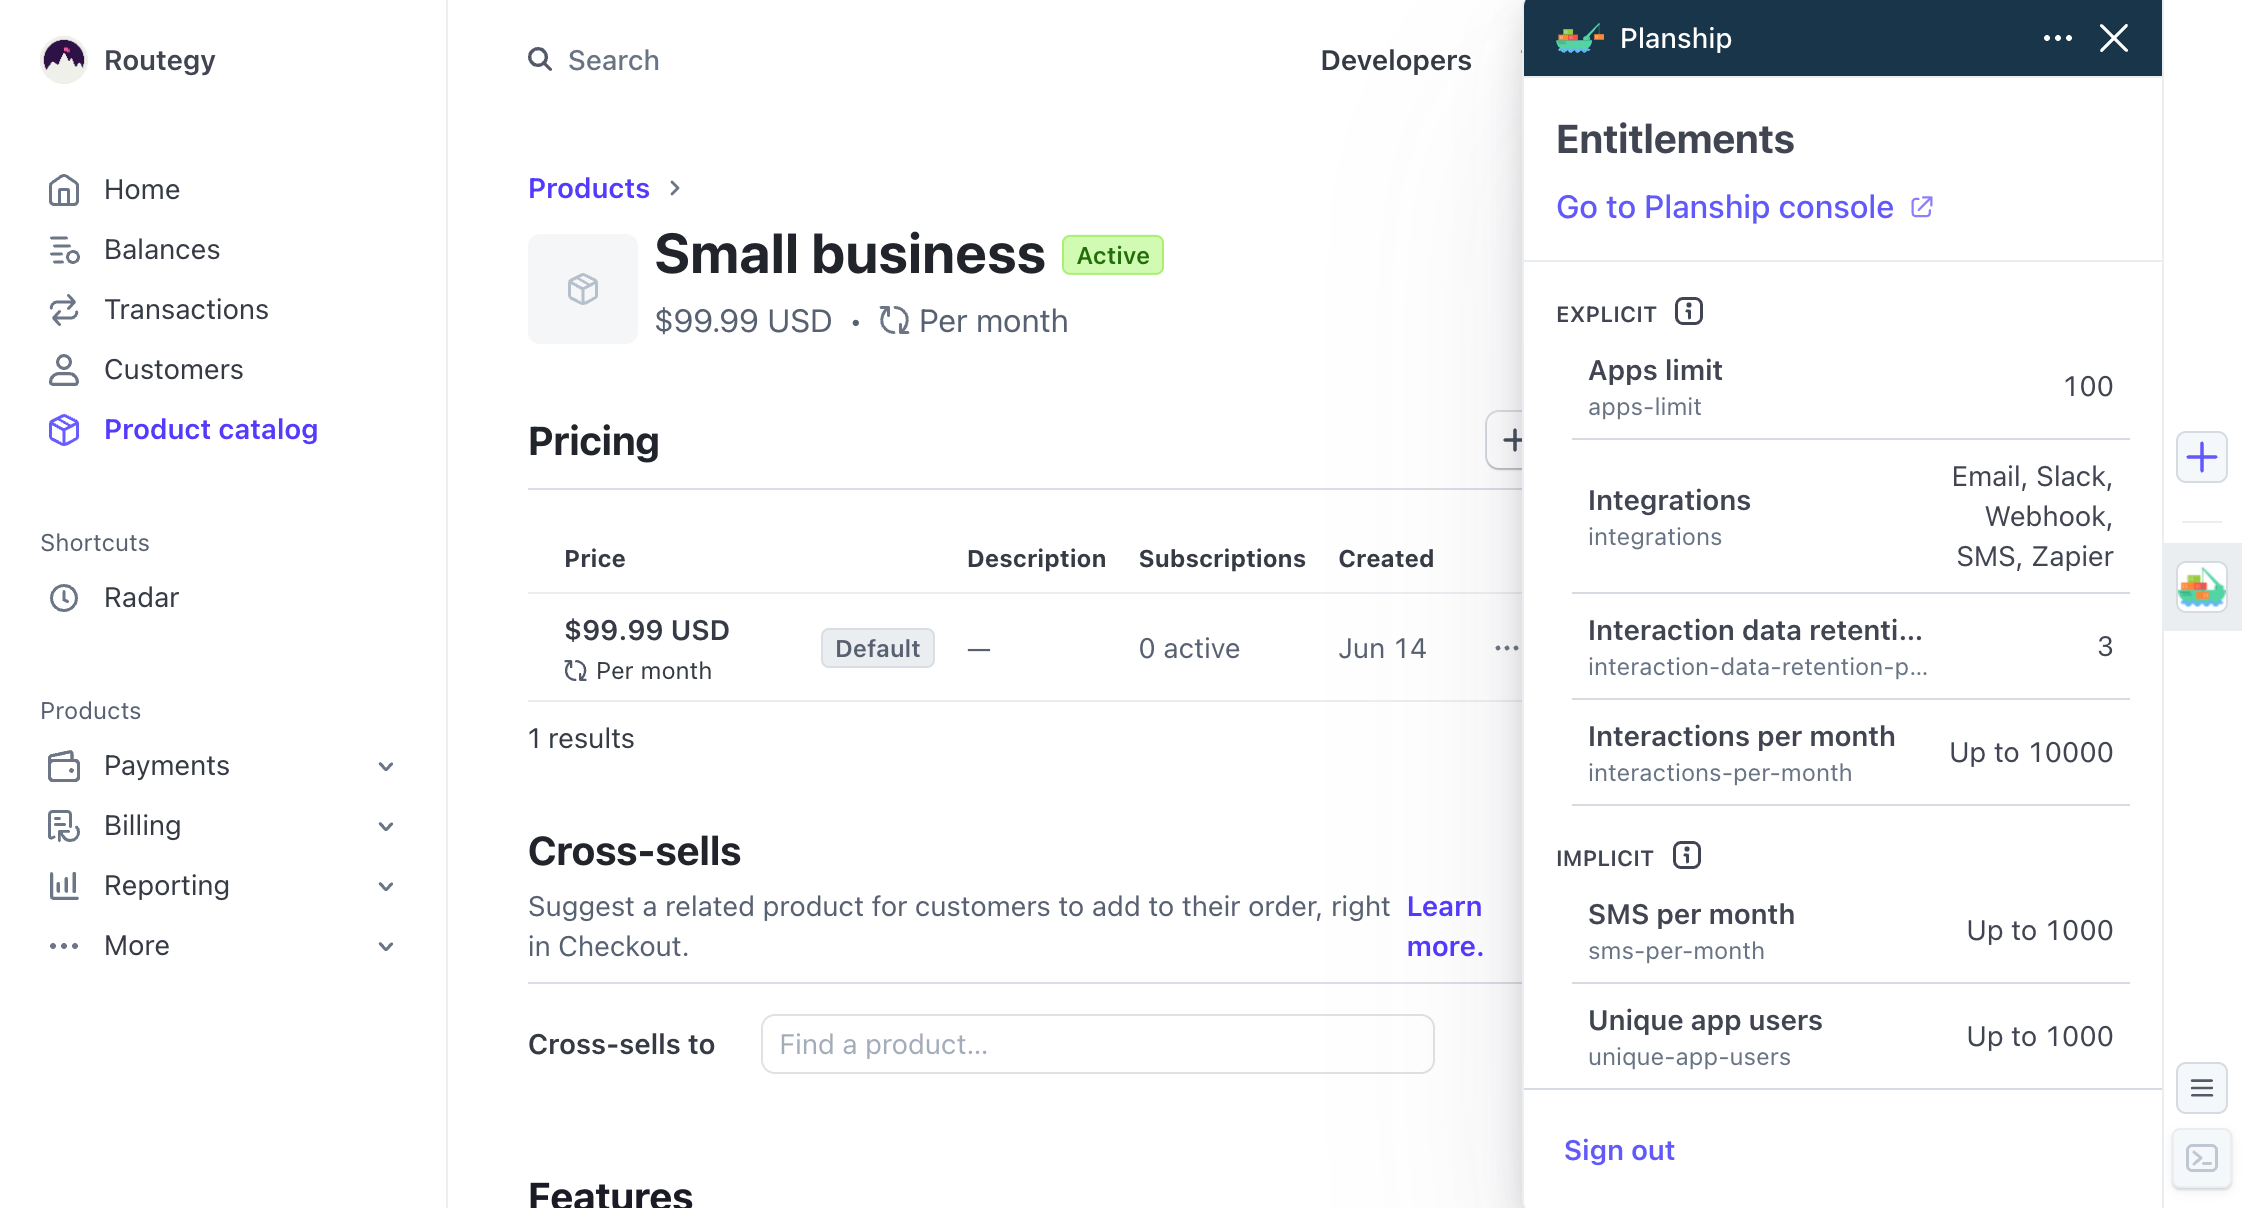
With entitlements defined, you can use the Planship SDK of your choice within your product to retrieve and enforce entitlements, report and retrieve usage information, manage team subscriptions, and more.
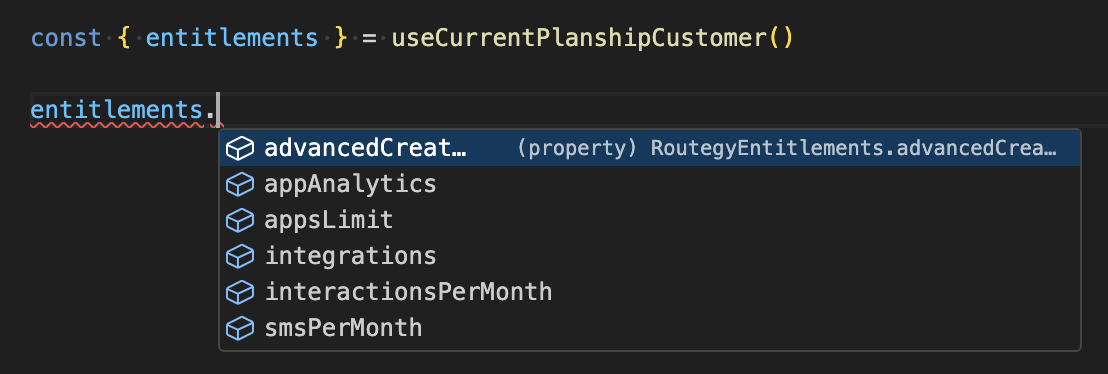
Getting started
To get started, install the Planship app from the Stripe marketplace into your Stripe account. Next, open the Planship app from the app drawer and sign into your Planship account or create a new account.

Once you've signed in and your Planship and Stripe accounts are connected, Planship will automatically create a new Planship organization for your Stripe account, mirroring all of your products, customers, and subscriptions as Planship plans, customers, and subscriptions respectively.
Note
Planship will continue to mirror your Stripe resources using Stripe webhooks as long as Stripe and Planship are connected, even when you are not signed into the Planship app.
You are now ready to define Planship levers and entitlements.

Step 1 - Define levers
First, you need to define feature and usage levers that represent your pricing dimensions. To do this, navigate to your Product catalog by clicking the Products link in the Planship app's default view or Stripe's Product catalog link.
Once you're on Stripe's products view, the Planship app will display the Levers view where you can view and manage your existing levers.
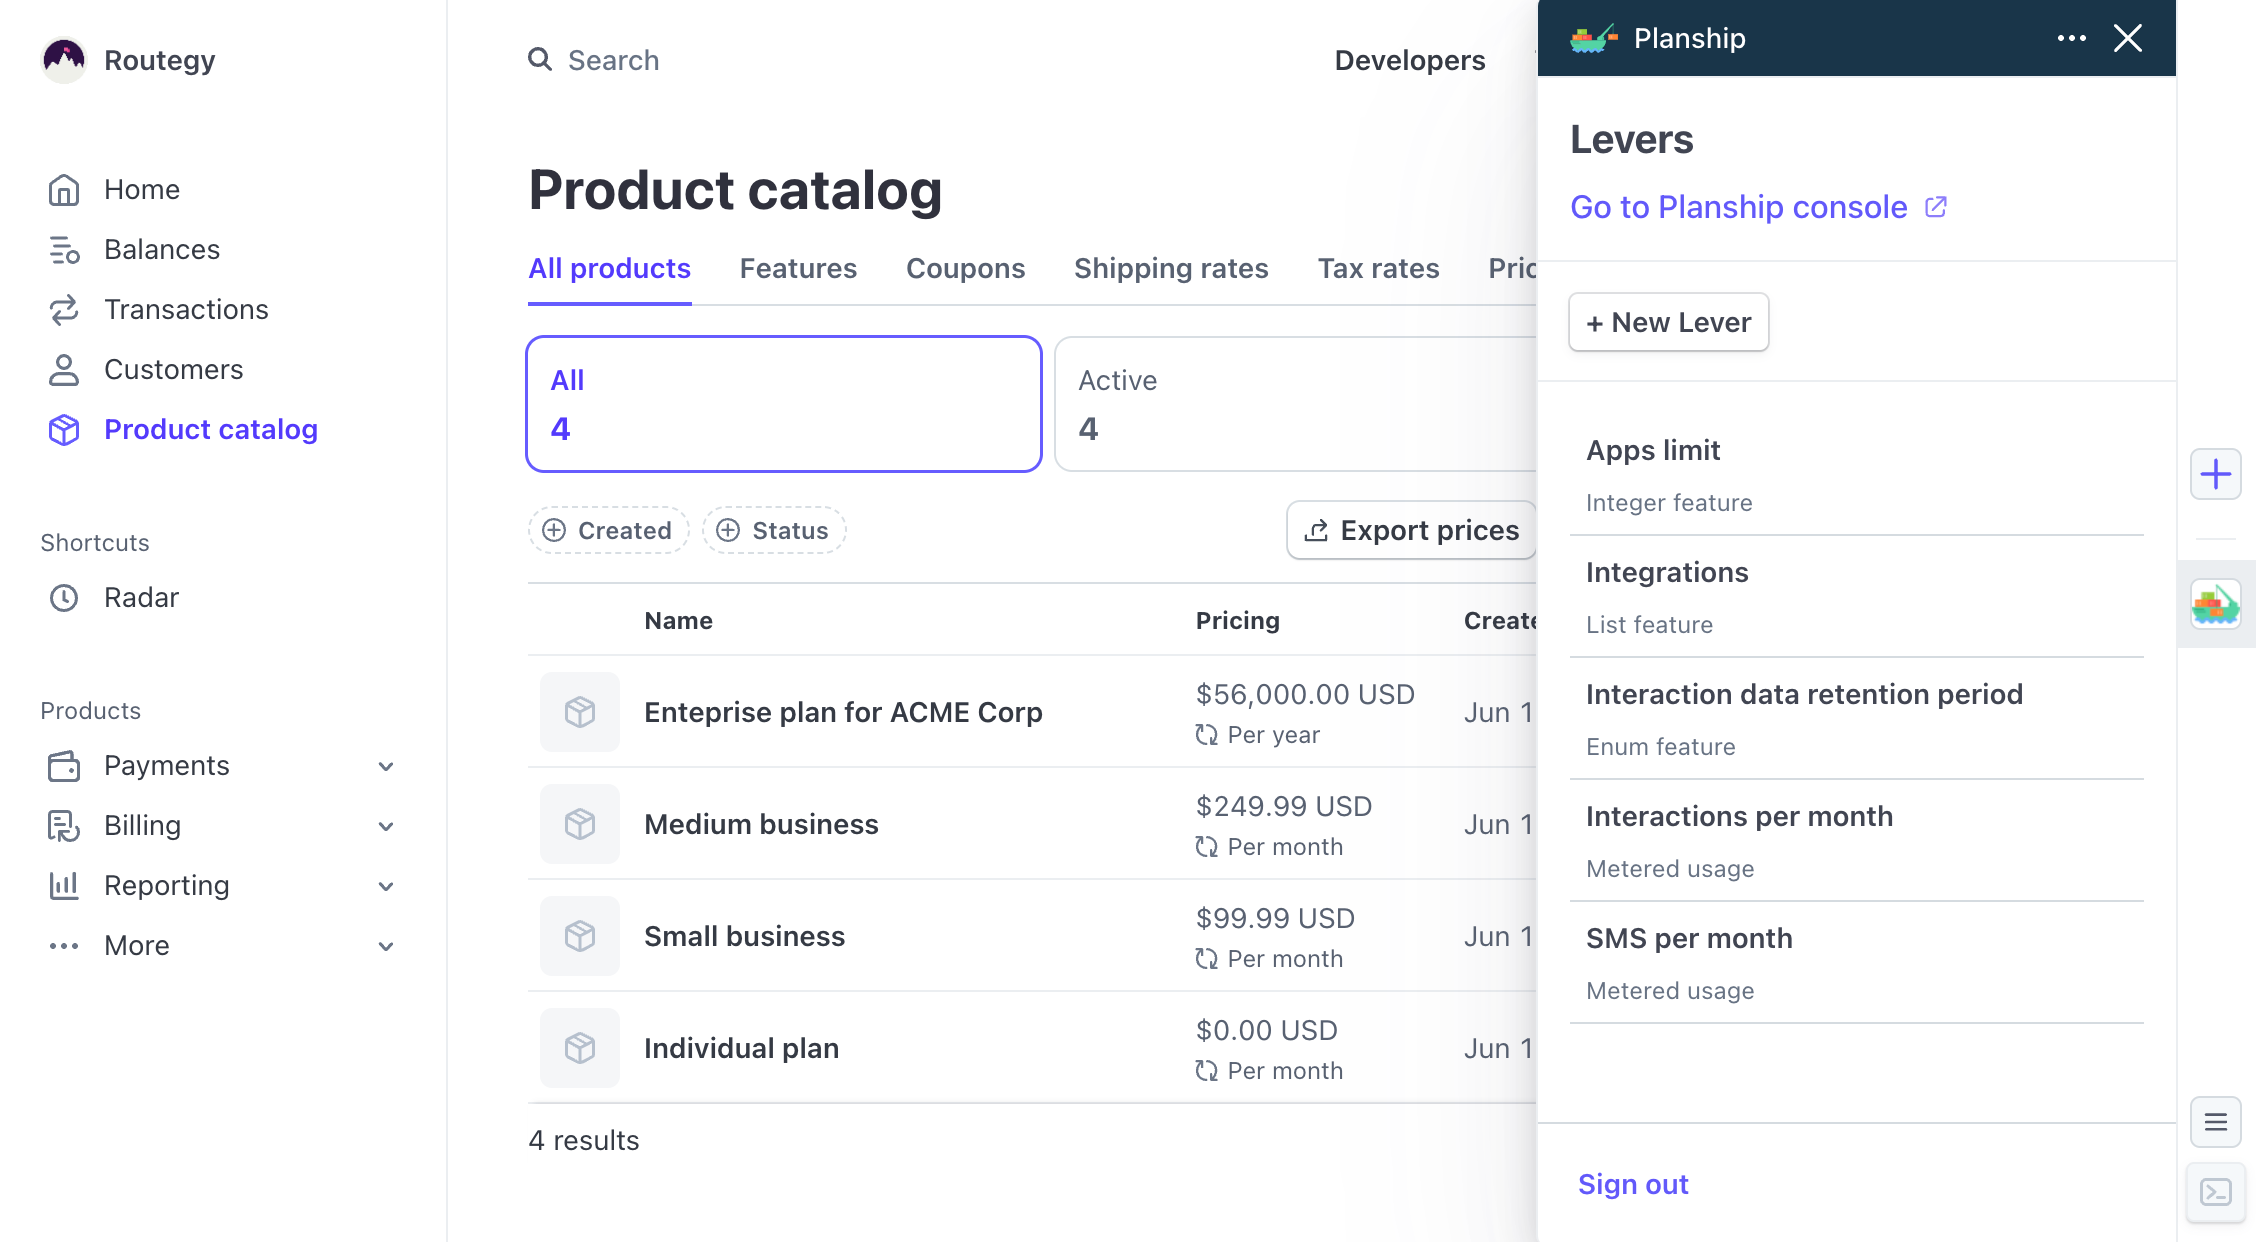
To create a new lever, click the New lever button and configure the lever by specifying its name, type, and additional settings like its default value. Once done, click the Create button to save your changes.
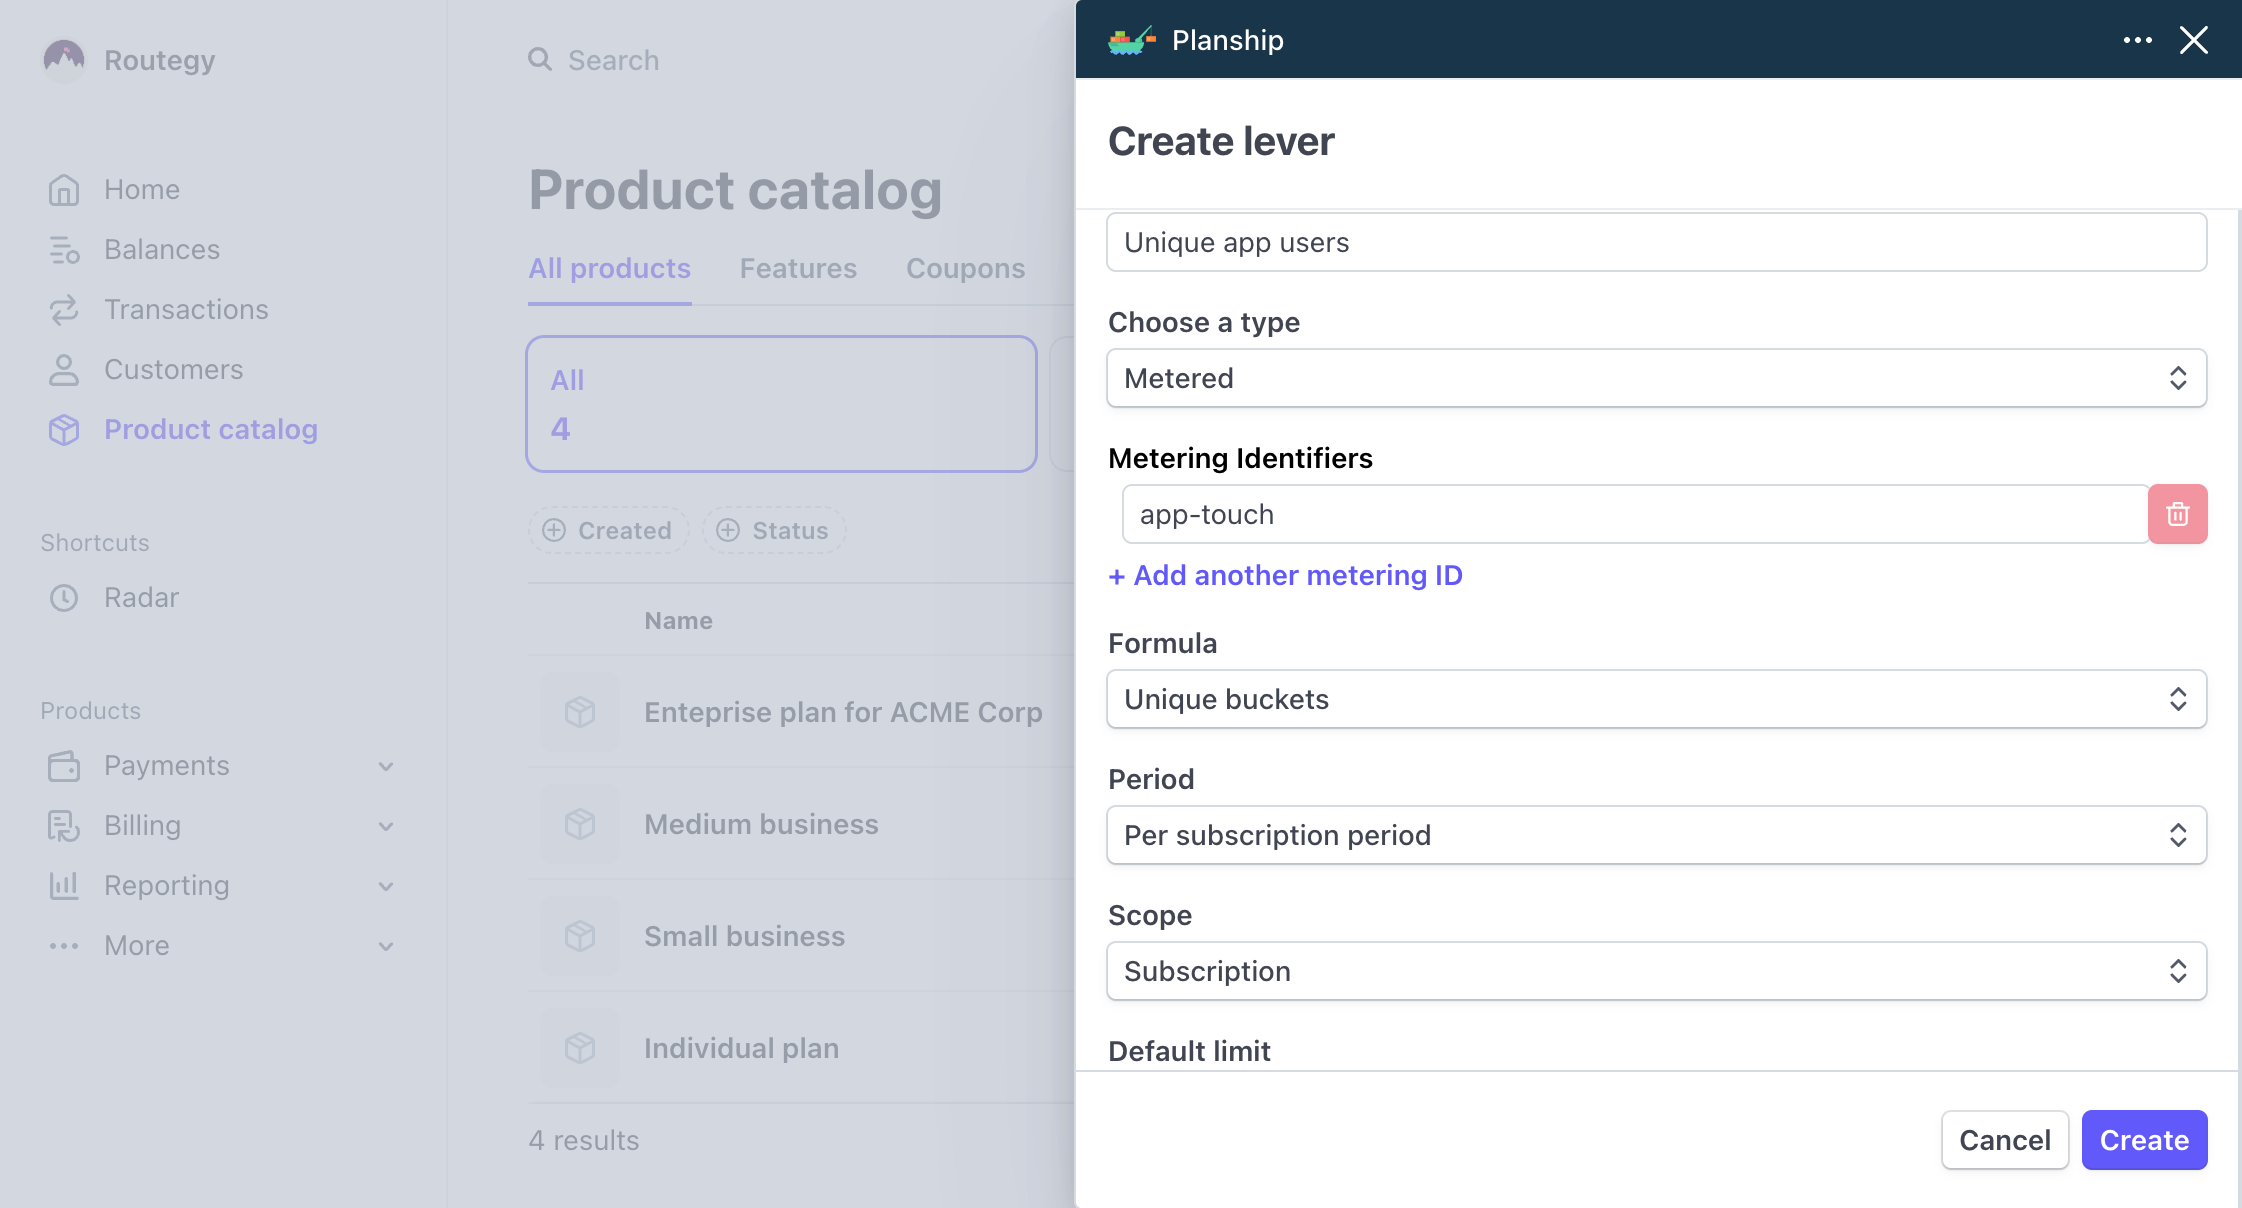
Step 2 - Configure entitlements
With levers defined, you can now configure feature and usage entitlements for individual products. Navigate to the product view in the Stripe dasboard (E.g. click its name in the Product Catalog), and the Planship app will display the Entitlements view for that product.

By default, every product has implicit entitlements that are set to the default values configured in their corresponding levers. To override a default, implied value, click an implicit entitlement, configure its value, and click the Create button to create a new explicit entitlement.
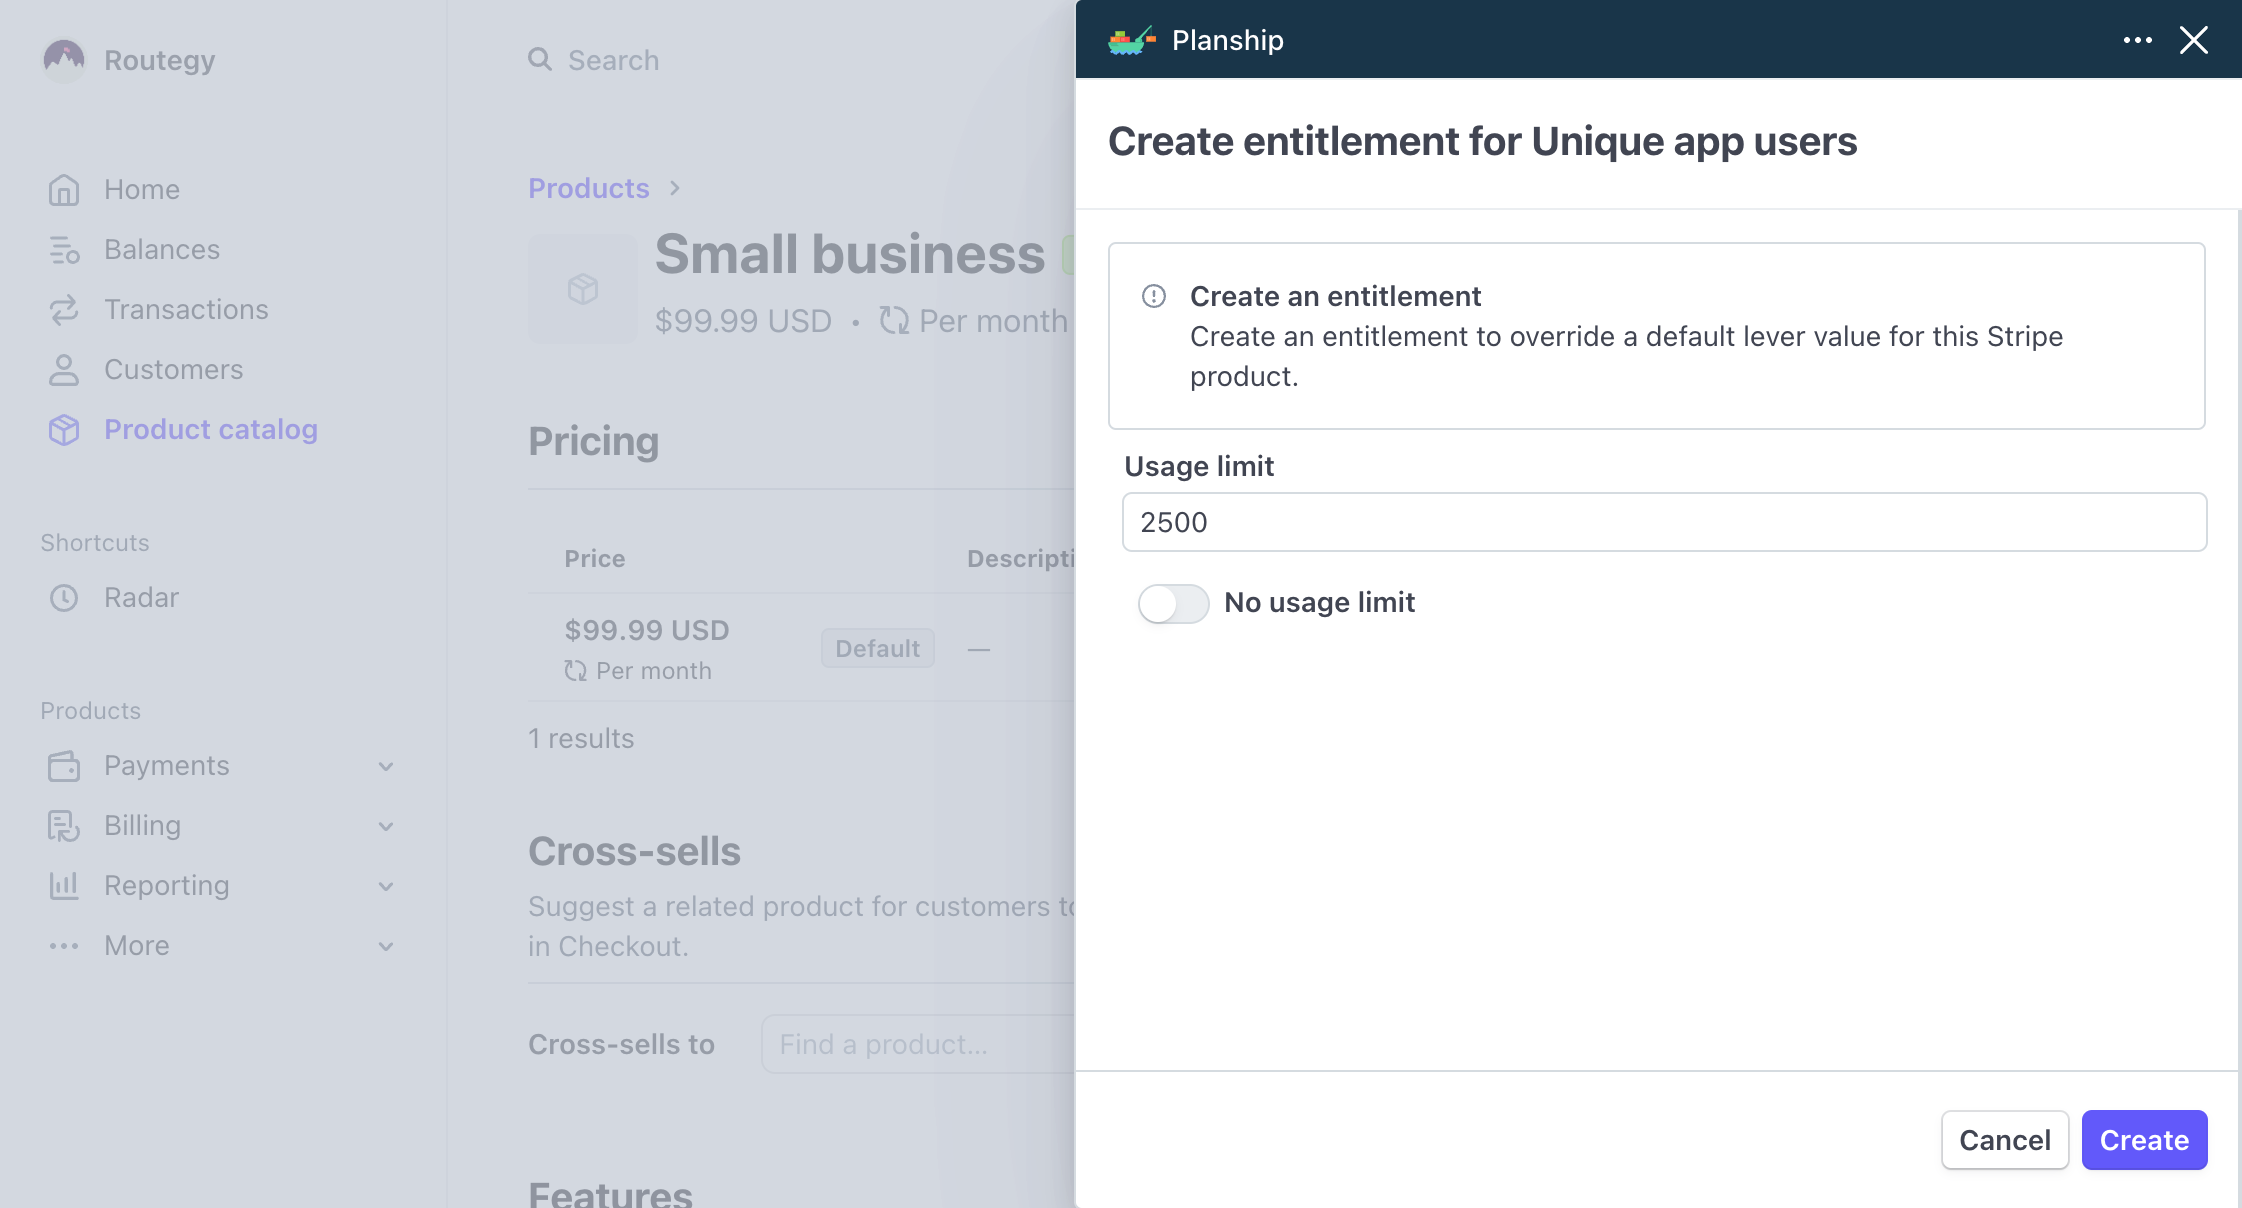
Existing explicit entitlements can be modified or deleted in the same way.
Note
Removing an explicit entitlement turns it into an implicit one that carries the default value of its corresponding lever.
Step 3 - Add Planship integration to your product code
With levers and entitlements defined, you can integrate Planship into your product code by following our integration guide. Please note that when using Planship with Stripe you don't need to register customers or create/delete their subscriptions via the Planship API. Customers and subscriptions are managed by Stripe and automatically mirrored by Planship.